
If you’re looking for a fun, useful, and beginner-friendly crochet project, a simple crochet pouch is a great pick. Pouches can stash your headphones, coins, makeup, or anything small that always seems to go missing in your bag. I love how a project like this helps beginners practice basic stitches and get a finished piece that’s actually handy for everyday life. This guide covers everything you’ll need to know, from the easiest pattern to pro tips for getting started.
Simple Supplies for an Easy Crochet Pouch
Getting started with crochet can feel a bit overwhelming with all the hooks, yarns, and accessories out there, but you really only need a few things for this pouch project. Here’s what I always reach for when making a quick starter pouch:
- Worsted weight yarn: This kind of yarn is thick enough to work up quickly and holds its shape. Any mediumweight (category 4) acrylic or cotton yarn works fine.
- Crochet hook size H (5mm) or I (5.5mm): Pick a comfortable hook that works with your yarn. Check the yarn label for recommendations, but these two sizes usually work great for this type of yarn.
- Scissors: You’ll trim ends and cut your yarn when you’re done.
- Yarn needle: Super handy for weaving in the loose ends neatly.
- Stitch marker (optional): Not required, but you can use one to keep track of your rounds.
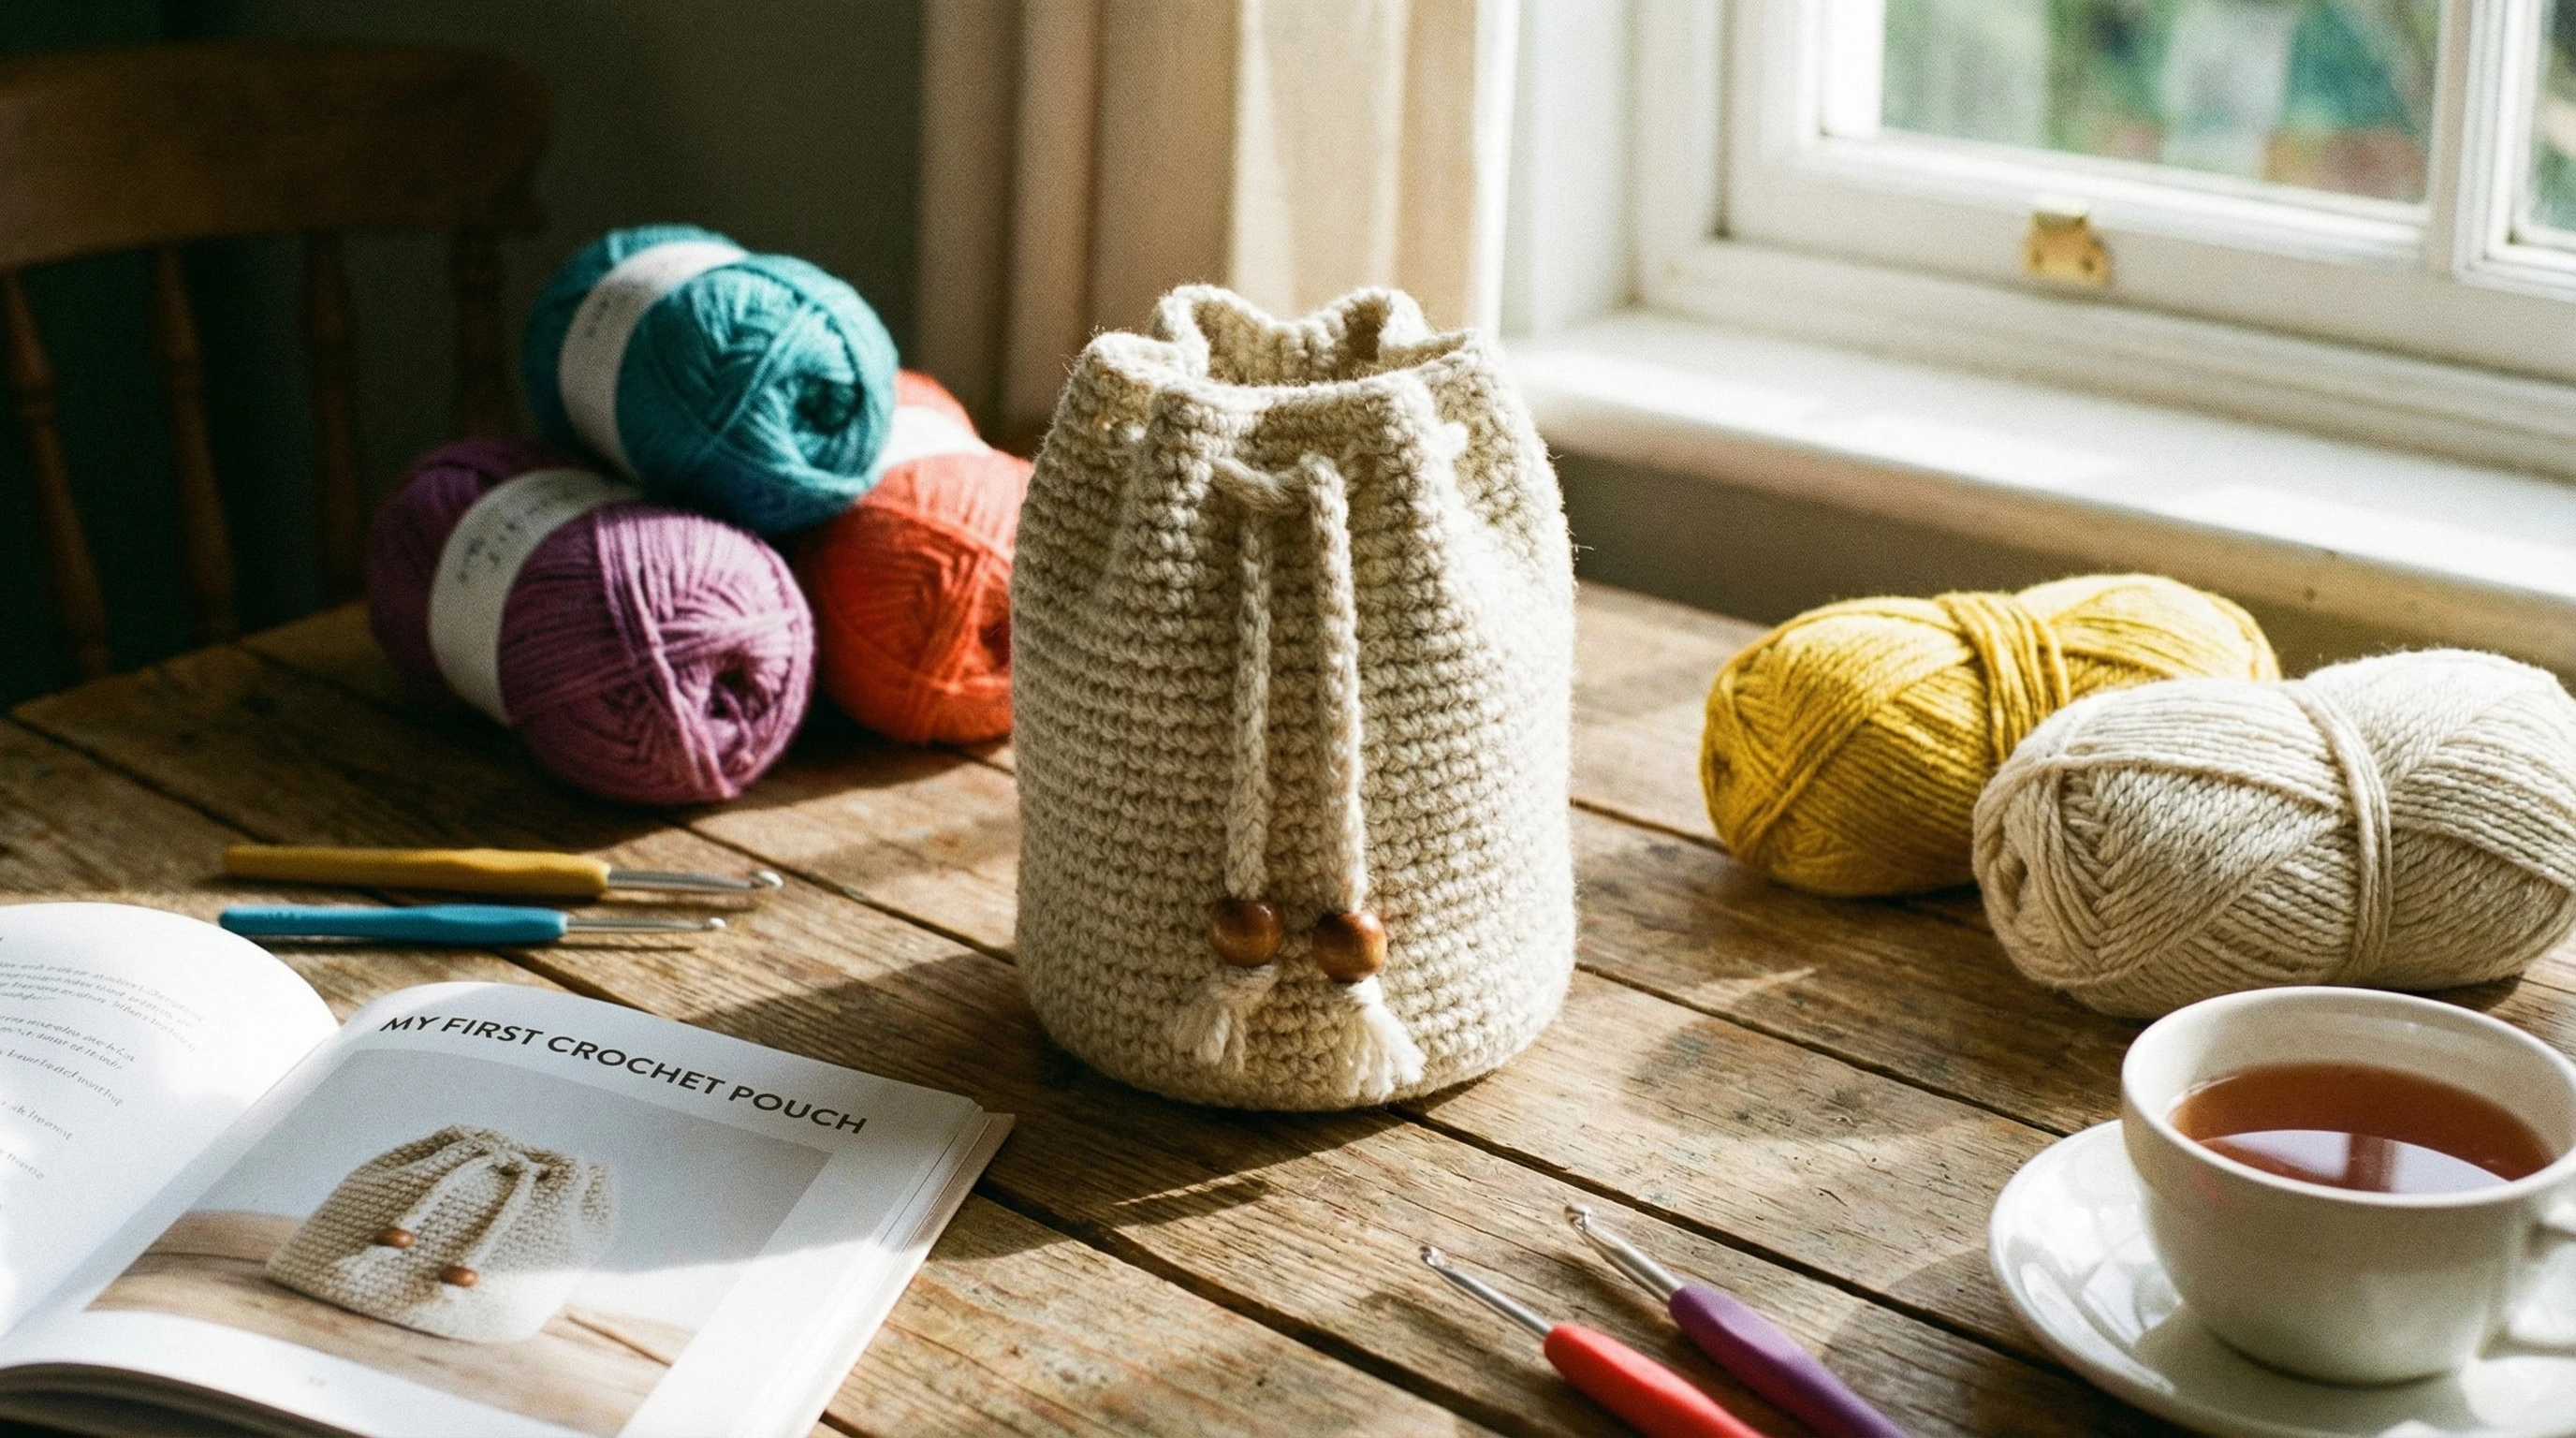
You might spot fancy zipper or button pouches online, but this pattern is all about keeping things easy with a simple drawstring closure. No need for extra fasteners unless you want to get crafty later!
How to Crochet a Pouch: Step-by-Step for Absolute Beginners
If you’re brand new, no worries. This pouch uses the simplest stitches and few steps, so it’s not overwhelming. I’ll break it down for you in plain English.
- Start with a slip knot and chain 16: This is the base of your pouch. Make a slip knot, then create 16 chain stitches (adjust if you want a bigger or smaller pouch).
- Single crochet across: Stick your hook into the second chain from the hook, then single crochet (sc) across the entire chain (15 stitches total). When you reach the end, chain one and turn your work so you can crochet back across.
- Repeat rows until you have a rectangle: Keep single crocheting back and forth, always chaining one at the end and turning your work. A good beginner size is about 24 rows, but you can add more rows for a deeper pouch.
- Fold and seam the sides: Fold your rectangle in half (short ends together) to form a pouch. Now, single crochet along both edges to seal it up. Don’t seam the top. That keeps your pouch open for all the goodies you want to store.
- Make a drawstring: Chain around 40-45 stitches (or as many as you need to wrap around your pouch opening). Fasten off, then weave the chain in and out along the top of the pouch like a shoelace. Pull the ends to close the pouch and tie a knot or bow.
This is the easiest way to make a crocheted pouch, and it doesn’t ask for any complicated shaping, fancy stitch patterns, or extra hardware. You’ll practice making a foundation chain, single crochets, and finishing with a drawstring, which are the main beginner crochet techniques.
Why the Crochet Pouch is Perfect for Beginners
Learning anything new comes with a few bumps, but a pouch pattern is one of the most forgiving and useful places to start. Here’s why it’s a good pick if you’re just starting out:
- Small and manageable: The project fits in your hands and can be finished in an afternoon.
- Simple, repetitive stitches: You get loads of practice with single crochet, which is the building block for tons of future projects.
- Minimal shaping: No increasing or decreasing. You’re just making a rectangle and sewing it up.
- Practical finish: You get to keep and use something you’ve made, which feels great and totally gives your confidence a boost.
For a total beginner, mastering the single crochet stitch is the first step. If you’re curious, other easy projects for practice might include basic washcloths, headbands, or simple scarves. Still, the pouch stands out because it’s quick, teaches construction basics, and doesn’t get boring since you finish it quickly.
Common Beginner Questions About Crochet Pouches
I see a lot of similar questions from new crocheters, so I thought I’d answer the ones I hear most often.
How do I make a crochet pouch in the easiest way?
The easiest way is to use one basic stitch (single crochet), make a rectangle, fold it in half, and seam the two sides. Adding a basic chain as a drawstring keeps things simple and effective, with no zippers, buttons, or fancy edges needed.
What’s the easiest crochet thing to make for beginners?
Washcloths and scarves are both super easy, but a basic pouch is right up there at the top. There aren’t many parts or pieces to join, and you learn a little construction by folding and seaming.
How do I crochet a pouch for absolute beginners?
Pick mediumweight yarn and a 5mm or 5.5mm hook. Start with a chain as long as you want your pouch wide; crochet rows until it’s the height you like. Fold and seam the sides, and weave a drawstring through the top. It’s all about keeping the stitches and construction simple.
How wide and tall should I make my pouch?
Standard is about 4 inches wide by 6 inches tall, but you can go bigger or smaller depending on what you want to store. Just chain fewer or more stitches at the start, and keep adding rows until it’s the size you want.
Can I decorate my pouch?
Absolutely! Try changing yarn colors for stripes, adding a pompom or tassel to the drawstring, or sewing on a button (just for looks). Once you’re comfy with the basics, it’s fun to get creative with extras.
If you’re ever unsure about choosing yarn or hook size for more complex variations, just ask at your local yarn shop. Most crafters are happy to help!
Beginner Crochet Tips: Getting the Best Results
Even though this pattern is simple, small tweaks can help your pouch look and feel awesome. Here are some practical tips that I’ve picked up while teaching friends to crochet:
- Keep your tension relaxed: If your stitches feel stiff or it’s hard to get the hook in, loosen up your grip.
- Check your stitch count: Now and then, count your stitches along a row to make sure you aren’t accidentally adding or dropping any as you go.
- Don’t stress about mistakes: Crochet is endlessly forgiving. You can pull out stitches and redo them any time. No need to panic over a little wobble.
- Pick light colored yarn: Dark colors hide mistakes and can be tough to see when learning. Soft cream or pastel shades work great for beginners.
Over time, as you get more comfortable, you might want to try new techniques, like changing colors in the middle, or mix things up by trying different yarn textures and experimenting with stitching patterns. All these little experiments can give your pouch a next-level, unique, cool look!
Project Ideas: Where to Go Once You Finish Your First Pouch
Once you’ve finished your first pouch, you’ll probably want to try something new right away. Here are a few beginner-friendly projects for your next steps:
- Crochet coin purse: Same rectangle and fold idea, but a bit smaller.
- Basic phone sleeve: Make your rectangle tall enough for your phone and seam only one short end shut, leaving the other open.
- Mini drawstring bag: Basically a taller version of the pouch, great for holding dice, small toys, or makeup.
- Crochet hook case: Add extra length to your pouch and make a larger rectangle to hold your hooks and supplies.
You can also check out patterns for granny square wallets, earbud holders, and pencil cases for more inspiration. Practicing a few of these beginner patterns really helps you build muscle memory for stitches and teaches problem-solving when something unexpected happens.
Troubleshooting Common Crochet Pouch Problems
You might run into a few little snags on your first try, but nothing on this project is hard to fix.
Pouch Looks Lopsided
Check your stitch count. If you add or lose stitches in each row, your rectangle won’t be straight. Just count now and then, and pull back if you need to fix a row.
Pouch Won’t Stay Closed
Try threading your drawstring through every other stitch instead of every third or fourth, or make your chain a little longer and tie it tight.
Seams Look Messy
Practice makes perfect here. You can use a yarn needle and whipstitch instead of single crocheting the sides, whichever looks neater to you.
If you find your drawstring is too tight, remake it with a looser chain or a larger hook size so it slides more easily. And if you spot holes in your pouch, just give the fabric a once over after seaming to look for big gaps, then patch with a few extra single crochets or by weaving in more yarn.
Crochet Pouches in the Real World
I use my pouches all the time for everything from organizing my purse to carrying lip gloss and tiny snacks. I’ve also given a bunch away as quick gifts; people love a handmade item they’ll really use. These make awesome teacher or holiday gifts, or a cute packaging idea for a gift card or small present.
Patterns and tutorials for easy crochet pouches are available all over craft blogs and free pattern sites like Ravelry or LoveCrafts. There are even beginner YouTube videos if you want to see the process in action.
Ready to give it a try? Grab your yarn and hook, settle in for a cozy project, and see just how handy your new pouch can be! Starting with a crochet pouch is a popular choice for a reason. You pick up new skills, enjoy the satisfaction of making something useful, and lay the foundation for even cooler crochet adventures down the road. With every pouch you make, you’ll spot your progress and get a bigger sense of what you can do with just a ball of yarn and a hook.