
Crocheting a granny square bag brings together creativity, practical skill, and a bit of nostalgia all in one fun project. Whether you’re completely new to crochet or just want a laidback make, granny square bags check all the boxes for style and handmade satisfaction. I’ve put together my best tips for making your own granny square crochet bag. Especially great if you want something truly one of a kind and totally functional.
Getting Started with Your Granny Square Bag
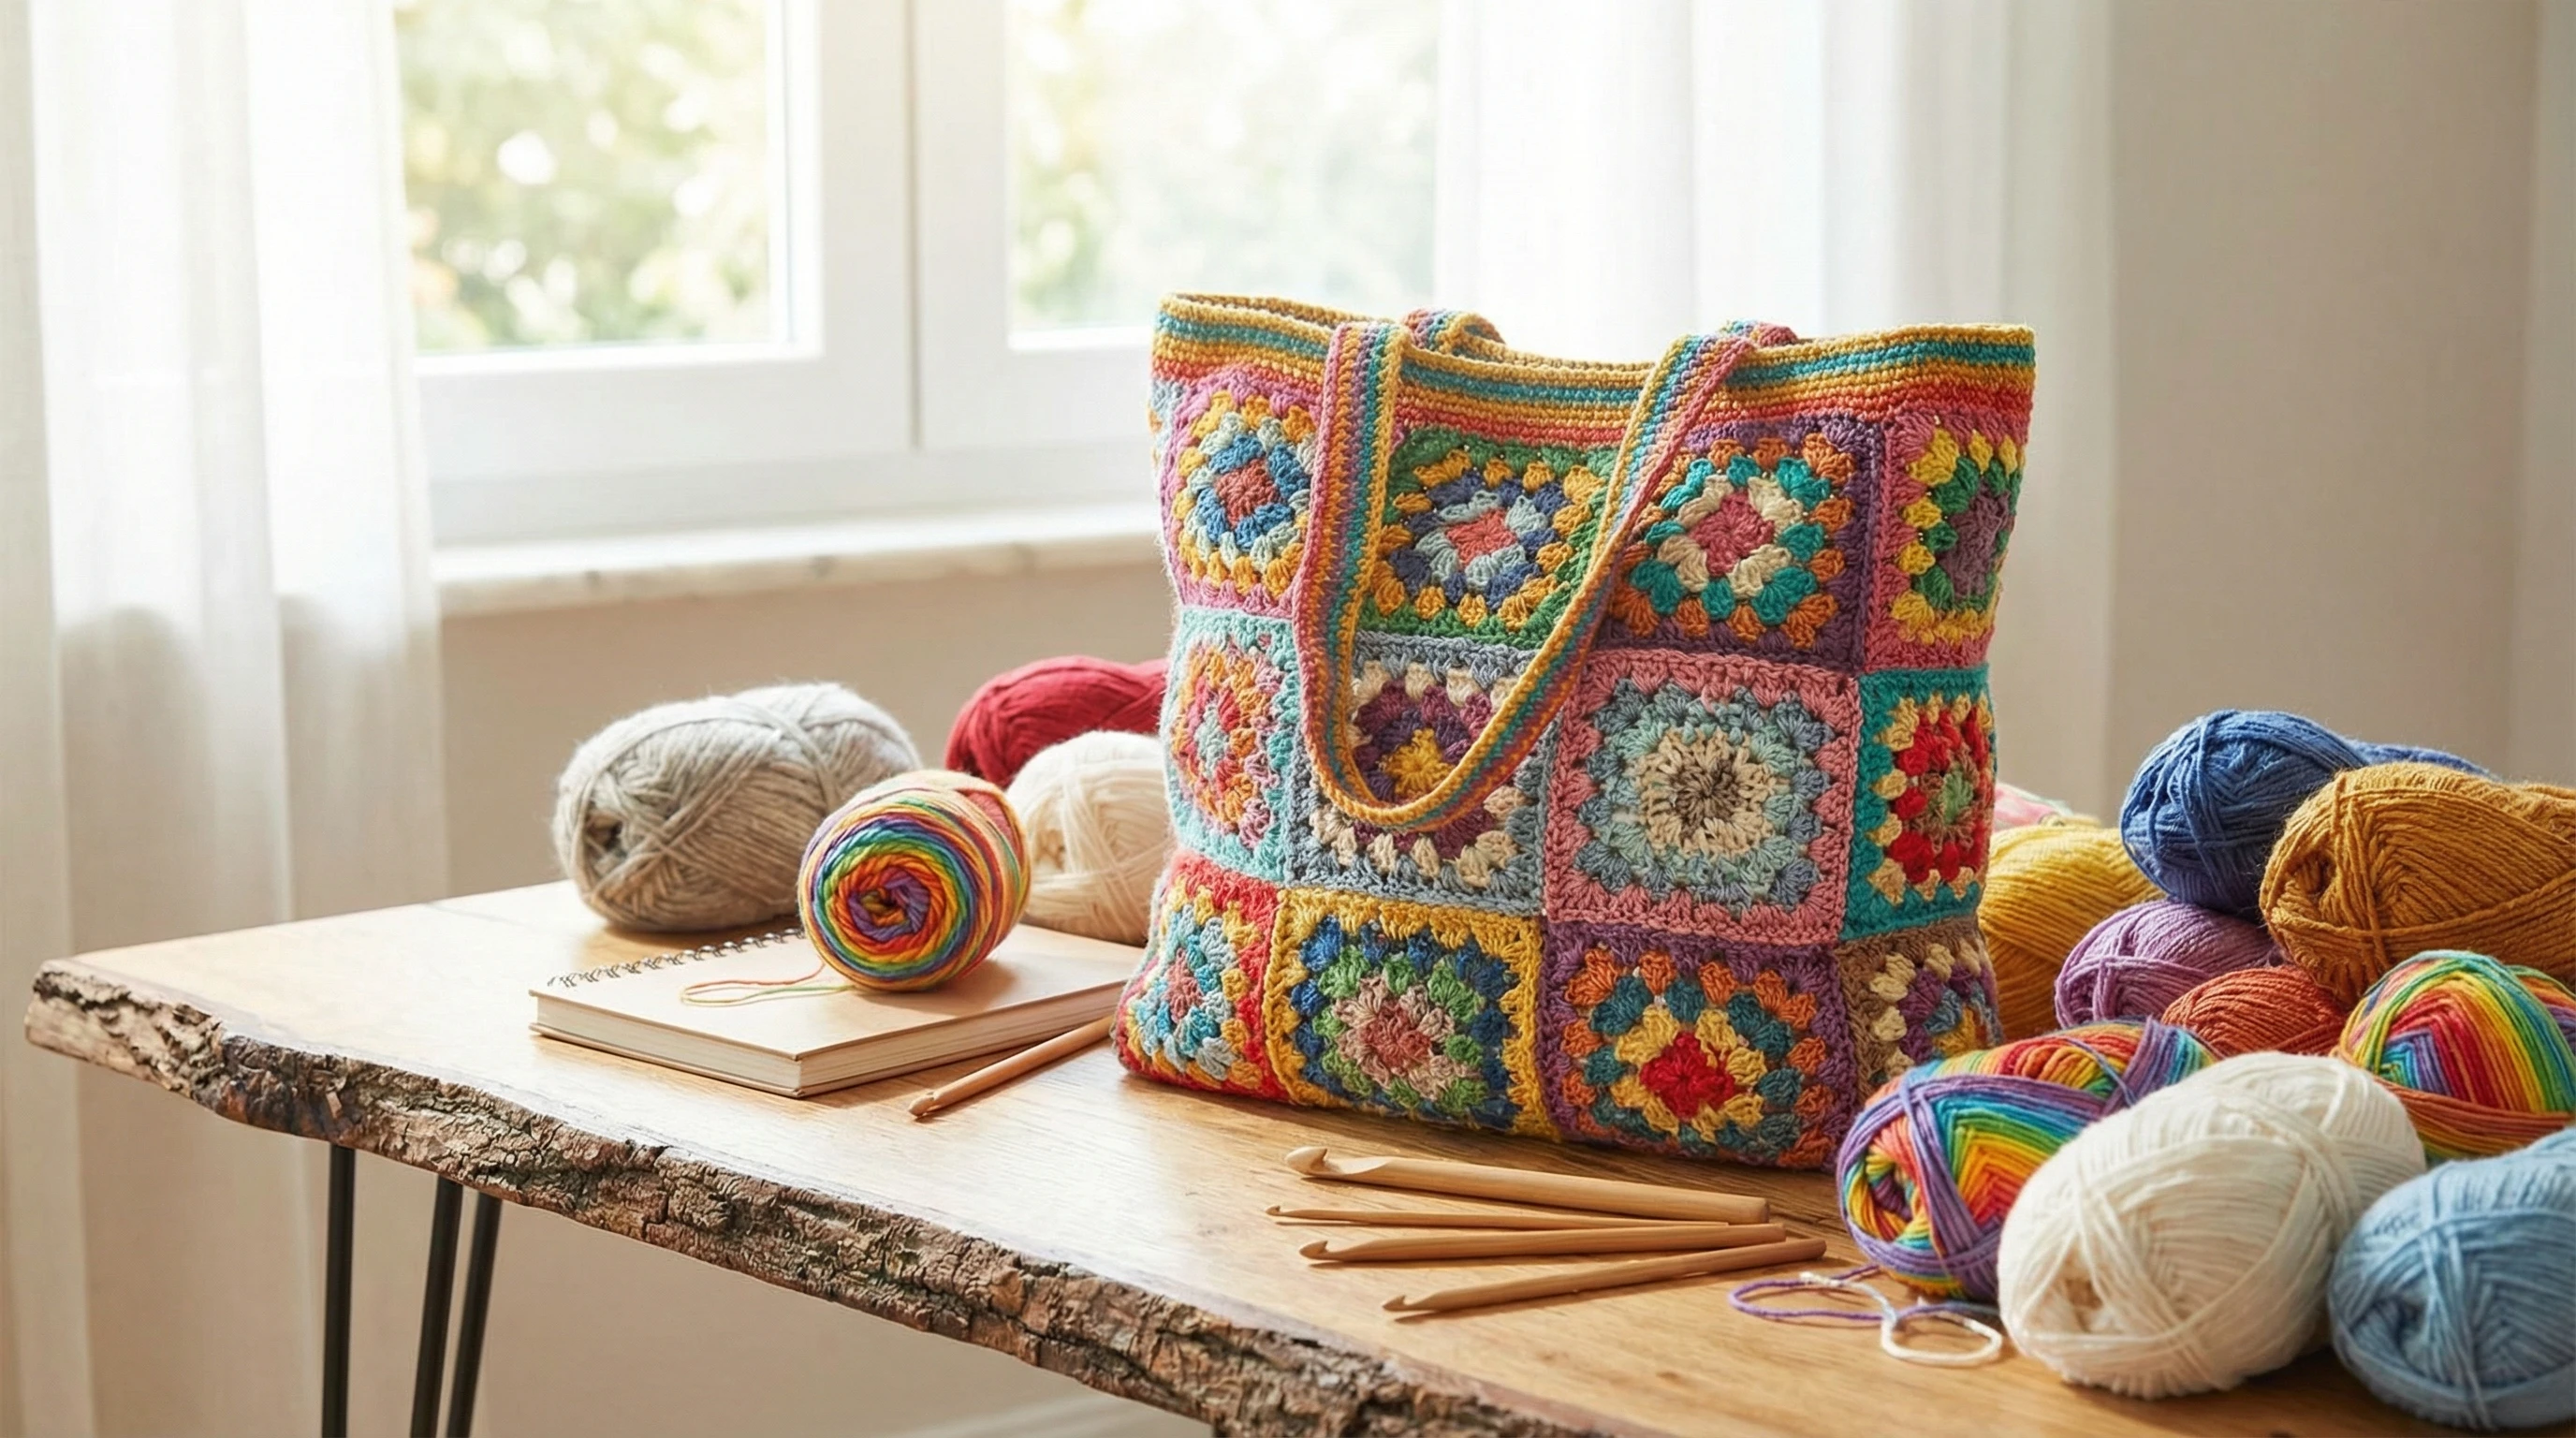
A granny square bag is basically a purse, tote, or market-style bag crafted by stitching together several granny squares. These iconic squares are made using repeats of double crochet and chain stitches, so they’re a top pick for beginners. Assembling the bag is as simple as making the right number of squares and sewing or crocheting them together. The retro vibes and custom color options are just the cherry on top.
If you’ve never made a granny square before, there are loads of tutorials and patterns available online, and many are free. They walk you through step by step. All you need is yarn, a crochet hook that matches your chosen yarn, a darning needle, and scissors. Picking a medium-weight yarn (like worsted or aran) gives enough sturdiness without being fussy to work with. Since granny squares can be worked up quickly and used for all kinds of projects, learning how to make them is a skill that will come in handy beyond bags.
For your first granny square bag, I recommend using basic acrylic yarns since they’re affordable, forgiving, and come in more colors than you’ll ever need. Cotton is another winner if you want a sturdier, easy-to-clean project, especially for bags that’ll hold heavier stuff. Some crafters even mix yarn types for added texture or chunkiness. Remember, experimenting with texture and color is half the fun of working with granny squares!
Choosing the Best Size for a Beginner
Smaller bags are friendlier for first timers. If you’re just starting, think about a shoulder bag or a small tote that needs only 4–6 medium sized squares (around 5″ or 13cm each). This keeps the project quick and lets you finish faster, which is great for building confidence before tackling something bigger.
For a basic beginner tote bag, a final size of about 10″ x 10″ (25cm x 25cm) strikes a good balance. It’s large enough for essentials but not overwhelming to assemble. Large market or beach bags often need 12+ squares and can be left for future projects. Many beginners find it helpful to lay out their completed squares and experiment with placements before stitching to see how big the bag is shaping up to be.
If you want to keep things uncomplicated at the start, stick with straightforward square counts. Adjust the size by adding more squares or simply using larger or smaller squares, depending on your needs.
Free Granny Square Tote Bag Patterns
If you want a no-fuss head start, free granny square tote bag patterns are super easy to find. These patterns come with the full walkthrough—everything from creating your simple squares to finished construction, often with photos and clear instructions. Sites like Ravelry, LoveCrafts, and tons of crochet blogs have collections of free patterns, so I’d recommend searching for phrases like “free granny square tote pattern” or “beginner granny square bag.”
Granny square bags can be traditional, with basic double crochet patterns and openwork, or more modern with color blocking and fun borders. Some patterns even include different joins or feature squares with extra texture. My personal favorites are the classic styles that stick with three or four rows per square and simple slip stitch joins; fast, sturdy, and perfect for getting started.
Many crocheters love experimenting with motifs and color combinations as they check out new patterns. Plus, some designers add video walk-throughs. Don’t hesitate to explore multiple patterns and find the one that matches your preferences and skill level.
The Simplest Granny Square Bags and Easiest Joins
Hands down, the simplest granny square bag for newbies is the two-panel style. This method uses two larger panels made from individual granny squares sewn together into rectangles, which are then joined on three sides to form the bag. Just attach a simple strap, and you’re finished. This approach skips gussets, fancy shaping, or any fiddly details that can feel a bit much when you’re starting.
As for connecting your squares, the easiest join is a basic whipstitch seam with a darning needle or a single crochet join. Both are basic, fast, and strong. The whipstitch involves sewing the squares’ edges together with yarn, pulling tight so the seam nearly disappears, a go-to for many crafters. A single crochet join gives a slightly raised, decorative ridge between the squares and is performed by holding two pieces right sides together and working single crochet through both layers. If you want absolutely fuss-free assembly, stick with one of these! Both methods make joining easy and leave your finished bag looking tidy.
Key Differences: Two-Panel vs. Four-Panel Granny Square Bags
When you’re deciding what kind of bag to make, you’ll usually see patterns for two-panel or four-panel granny square bags, especially at the beginner level. Here’s a quick guide on what makes them different:
- Two-Panel Bags: These use just two rectangular panels (each made by joining squares side by side). The panels are joined along the bottom and sides, and you often add a strap right at the end. Two panel bags are simple, fast, and great for everyday use.
- Four-Panel Bags: This design uses four panels; usually front, back, and two sides, which are then sewn or crocheted together to make a bag with more shape and sometimes a boxy style. You might get a little more room and durability with added gussets or side panels.
If you want to dip your toes in slowly, the two-panel bag is my pick for the easiest approach. Once you’re comfortable, experimenting with four-panel construction can give your bags a little more sophistication and sturdiness, especially if you want them to hold their shape or carry heavier items. Four-panel bags are a good way to try new skills, and you can always add a lined fabric interior for extra durability.
Step-by-Step Guide: Making Your First Granny Square Bag
- Choose Your Colors: Play around with yarn leftovers or grab a coordinated color combo for a unique look. Lighter colors help you spot stitches easily when starting out.
- Make Your Squares: Follow a simple granny square pattern (lots of YouTube tutorials available if you prefer to work alongside video). For most tote bags, 4–8 squares does the trick.
- Block Your Squares: Blocking helps even out your squares for easy joining and a polished finish. Just wet them and pin them flat to dry.
- Lay Out Your Design: Decide on the arrangement and take a photo for reference, especially if you’re playing with a bunch of different colors or patterns.
- Join the Squares: Try the whipstitch or single crochet seam as mentioned above. For a super beginner-friendly result, just sew each square together as you go.
- Add the Strap: Straps can be as simple as a long crocheted chain reinforced with single or half double crochet stitches. You can also use a leather or ribbon strap for a modern touch.
- Finishing Touches: Weave in tails, line the bag with fabric if you want extra structure or to keep items more secure, and you’re ready for a test carry!
Taking time on each step builds good habits for your future crochet projects; don’t rush, and enjoy the process. If you like tinkering, feel free to customize the steps or combine techniques you stumble upon along the way.
Extra Tips for Success
- Don’t stress about perfection: A little wobble in your squares or seams adds handmade charm; it won’t make the bag any less sturdy or cute.
- Mix and match yarns: Hold two finer yarns together for a chunky, colorful square. Scrappy variations look especially cool.
- Add a lining: If you want more stability or plan to carry small items, lining with cotton fabric is pretty handy and not too tricky to sew in.
- Customize the length: Adjust the strap by trying the bag on before sewing, so it’s just right as a shoulder or crossbody bag.
- Use stitch markers: These help you line up pieces for joining and keep seams even, especially if you’re making a bigger project.
- Experiment boldly: Try color gradients, alternate square patterns, or decorative buttons to make your creation stand out. Each granny square bag you make is a chance to switch things up and get creative.
Frequently Asked Questions about Granny Square Bags
What size bag should a beginner make?
A beginnerfriendly bag often measures around 10″ x 10″ once assembled, using 4–6 medium granny squares. This is an easy size to manage, and you’ll finish it quickly.
What are Free Granny Square Tote Bag Patterns?
Free granny square tote bag patterns are downloadable or online guides that walk you through making a granny square bag, often including step-by-step photo tutorials. Try searching places like Ravelry, LoveCrafts, or top crochet blogs for patterns suited for beginners and up.
Which is the simplest of all Granny Square Bags & Joins?
The simplest bag is a two-panel tote, using two rectangles joined at the bottom and sides. As for joins, a whipstitch seam with a darning needle or a single crochet join are both super easy and fast for connecting your granny squares.
What are the differences between the two-panel and four-panel Granny Square Bag?
A two-panel bag uses only two joined rectangles (front and back), making it a faster, easier build. The four-panel version uses extra side or base panels, making the bag a bit boxier and often stronger, but it adds extra steps and joining.
Granny Square Bags in Everyday Life
I’ve seen granny square bags used for shopping, as beach totes, or just to toss in a phone and wallet for a walk. Thanks to the sturdy stitches and customizable designs, they hold up well and look great in tons of settings. If you like projects that come together quickly but let you play with color, a granny square bag is a satisfying make.
- Markets & groceries: Strong enough for small hauls, super cute for running errands.
- Book bags: Medium-sized bags make stylish totes for books or journals.
- Gift idea: Custom colors or embellishments make these a thoughtful present for anyone who loves handmade accessories.
Once you get comfortable, trying new shapes, borders, or creative straps is a good way to personalize each bag. Happy crocheting! Your next favorite accessory is already in your yarn stash. With granny square bags, you can jump into a new project any time you want and grow your crochet skills along the way.